Cisco Fishing Systems
DC Motor Brush Plate and Heat Shrink Kit
DC Motor Brush Plate and Heat Shrink Kit
Couldn't load pickup availability
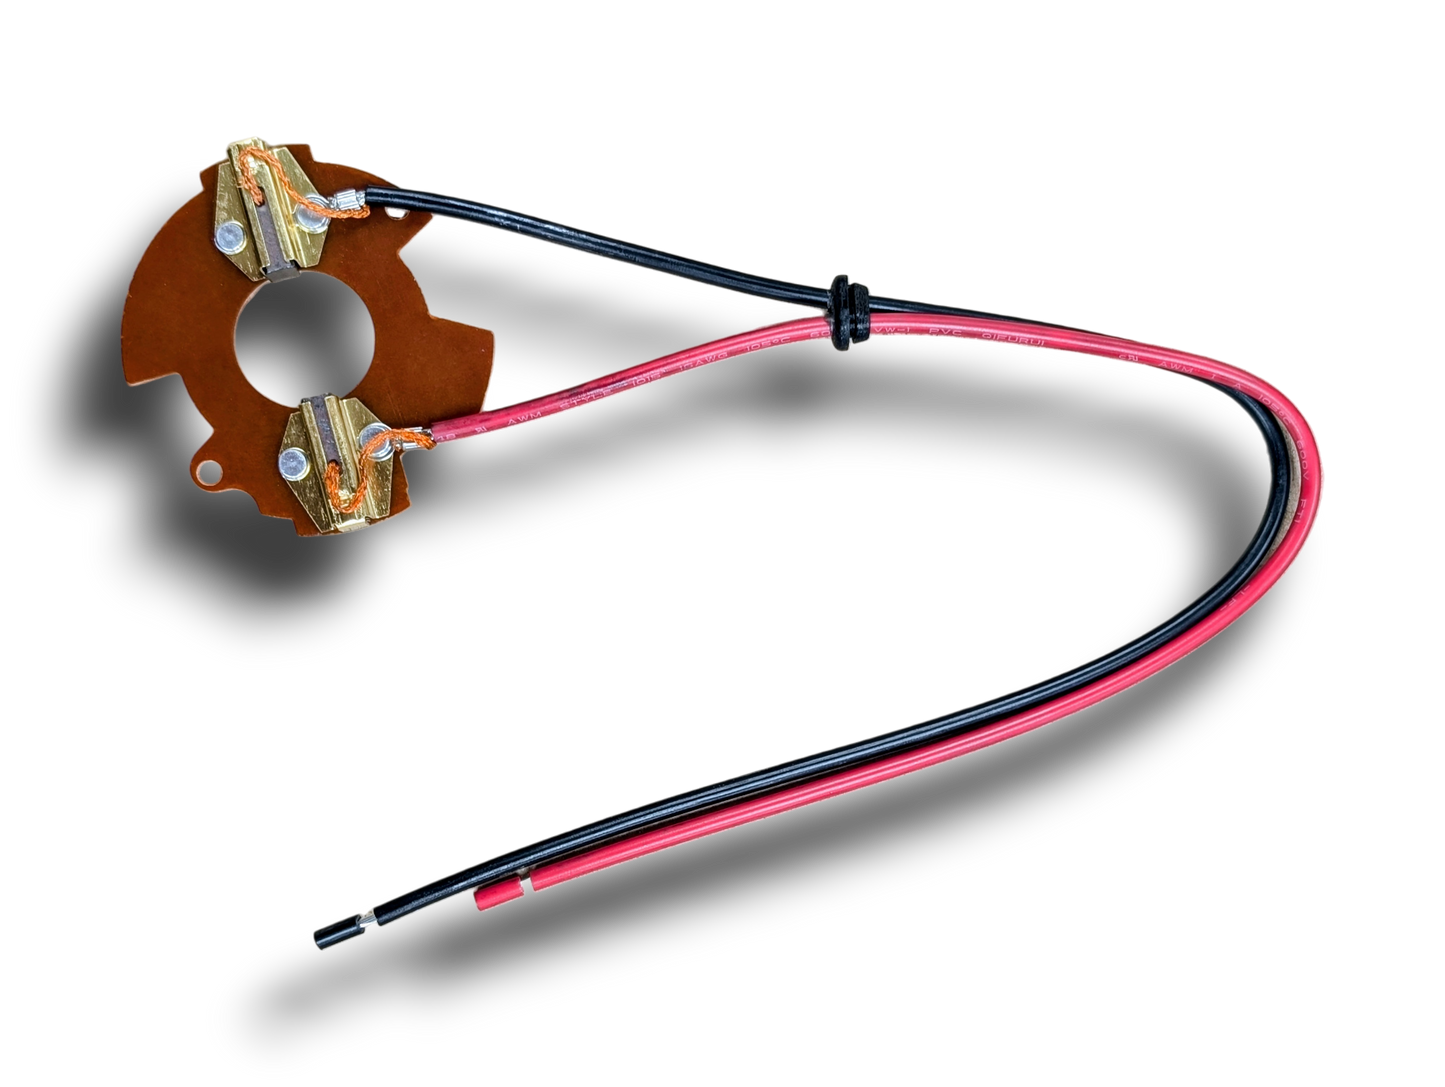
12V DC Brush Plate
This brush plate replacement kit works with both our Planer and Downrigger Motors. It includes a new heat shrink boot, brushes, wires, and blue disconnects.
When to Replace Your Brush Plate
You may need to replace your brush plate if your motor exhibits any of the following symptoms:
-
Intermittent Operation: The motor turns on and off intermittently when connected to a 12V power source.
-
Reduced Performance: The motor seems to be under-performing, with slow retrieval speeds or low torque.
-
Complete Failure: The motor will not turn on at all when connected to a 12V power source, and it does not blow a fuse or trip a breaker.
Replacement Instructions
-
Secure the motor by the 7/16" stainless steel shaft in a vise. Cut off the black heat shrink protective cover.
-
Reposition the motor in the vise so the shaft faces away from you and the round housing faces up. Remove any excess silicone and use a 1/4" nut driver to unscrew the two bolts. Before you remove the parts, make a mark or line on both the gearbox and the cylindrical cover to ensure they are reassembled in the same orientation.
-
Remove the end cap and round housing. Confirm that both magnets are still properly glued to the interior of the housing. Unscrew the copper armature counter-clockwise and set it aside.
-
Use a Phillips screwdriver to remove the two short screws holding the brush plate to the gearbox. Cut off the black and red wires, then remove the old plate and wiring from the motor.
-
Clean the copper plates on the armature with a soft fiber abrasive pad. The old brushes leave a black residue that can inhibit the flow of electricity.
-
Install the new brush plate in the gearbox. Feed the wires through the black silicone gasket and secure the plate with the two short Phillips screws from step 4.
-
Return the armature to the gearbox, and release the spring tension on the brushes. The brushes should now make contact with the copper armature.
-
Place the round housing (with the magnets) back onto the motor. Make sure the mark from step 2 lines up perfectly.
-
Oil or grease the bearing housing in the end cap. Reinstall it onto the armature and round motor housing, then secure everything by re-screwing the two long bolts from step 2.
-
Test the motor with a 12V battery to ensure it's functioning properly. Apply silicone around the end cap and the gasket where the wires exit the housing.
-
Place the new heat shrink boot over the motor and wires. Use a heat gun to shrink it into place.